
blog
Sunday, 4 Oct 2025
Tips and tricks of Food Photography,
A Visual Feast Worth Capturing
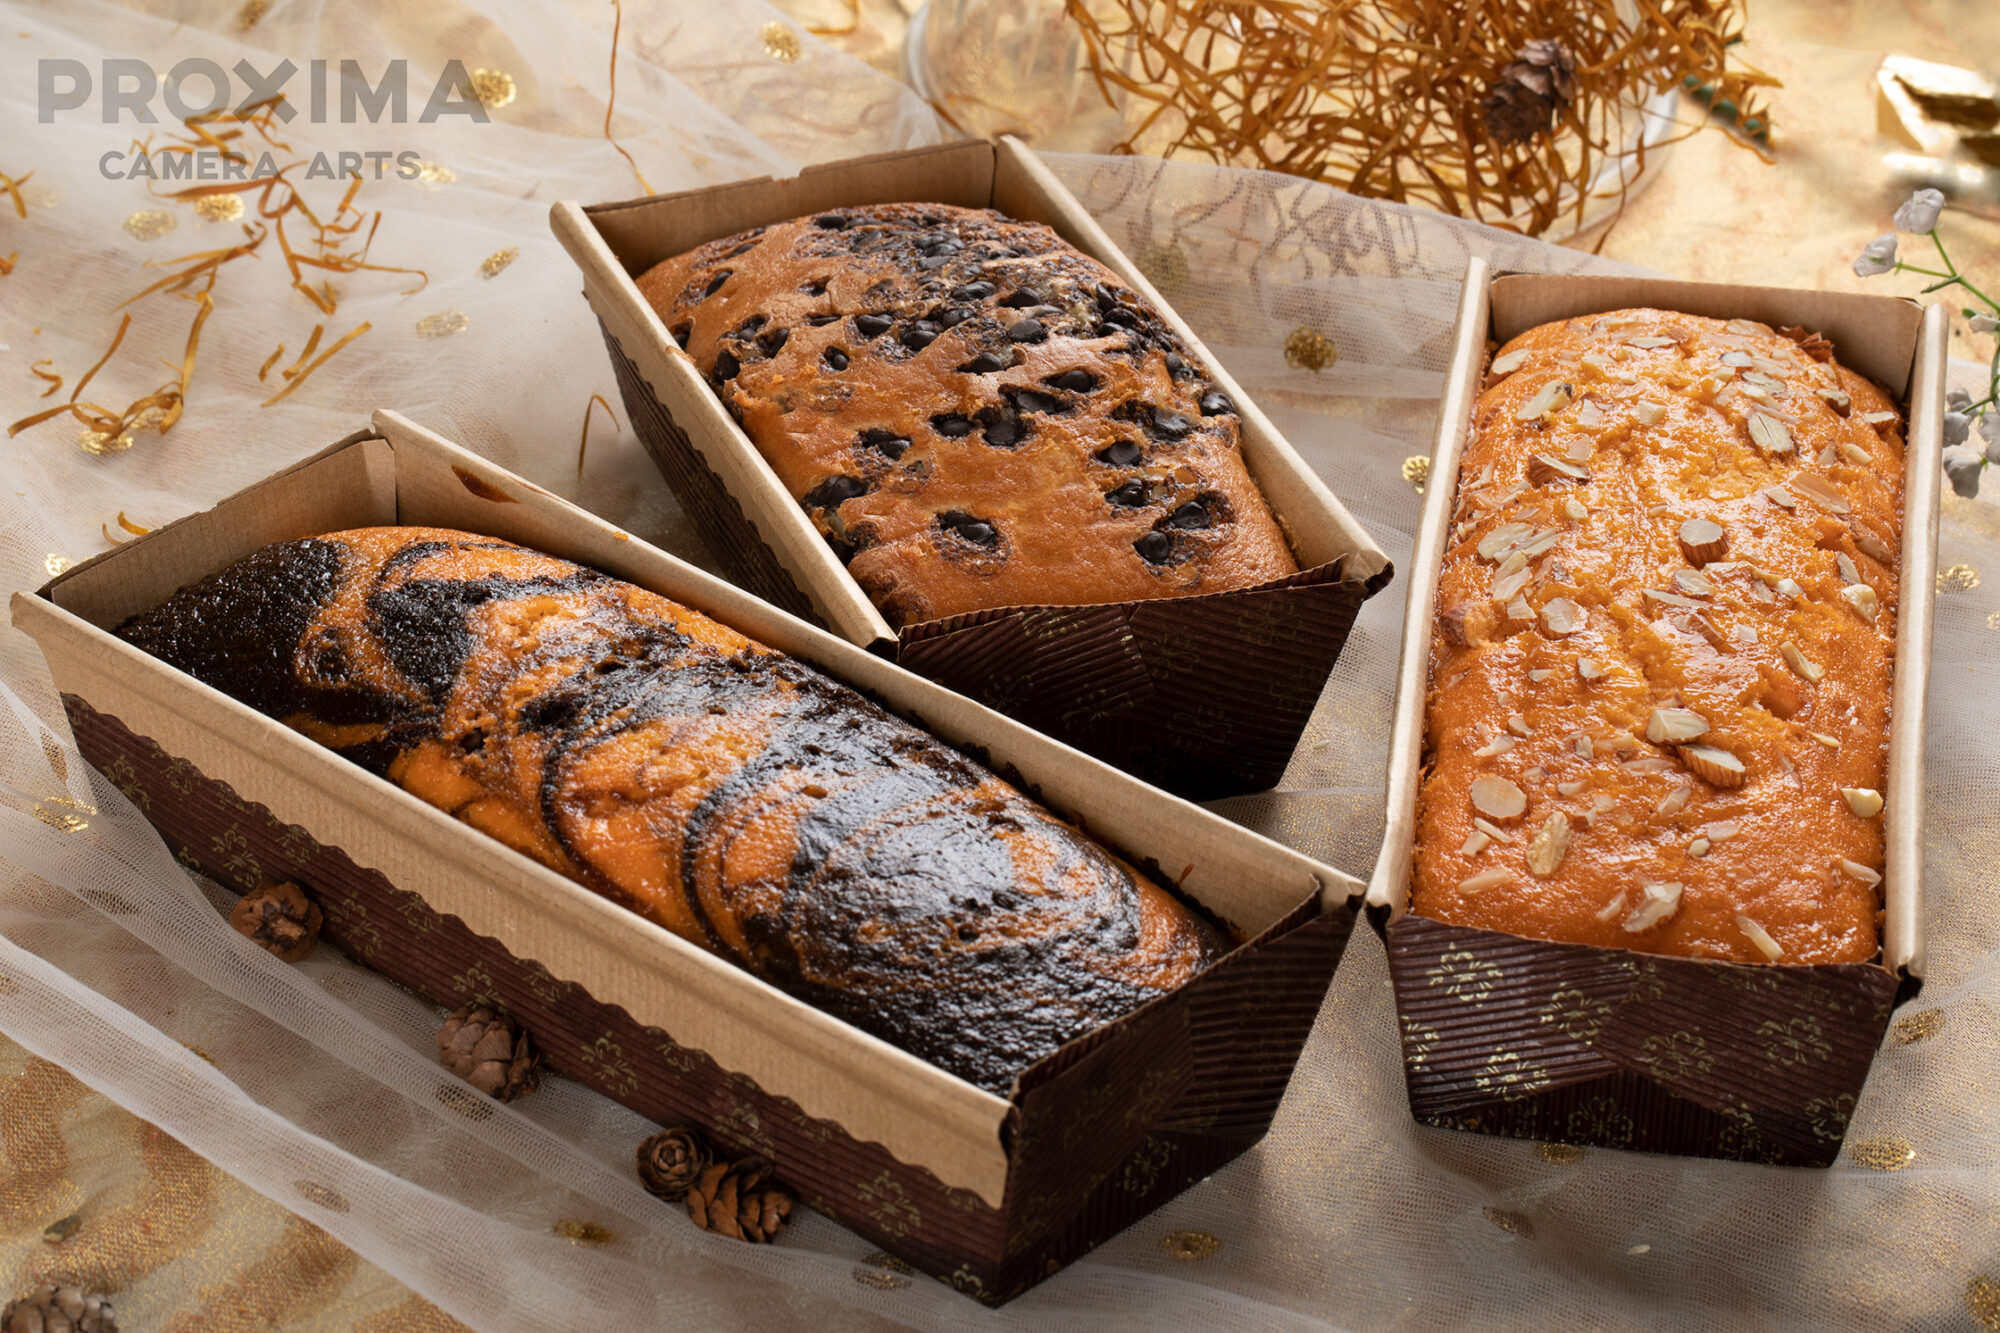
Food photography is more than just clicking pictures of what’s on your plate — it’s about evoking taste, aroma, and craving through visuals. Whether you’re shooting for a restaurant, a recipe blog, or your Instagram page, the right techniques can turn a simple dish into a mouthwatering masterpiece.
Here are some tried-and-true tips and tricks to elevate your food photography game:
fusers: Inexpensive tools that make a big difference.
1. Light is Everything — Choose Natural Over Flash
Natural light brings out the real texture and colour of food.
- Best time: Shoot near a large window in the morning or late afternoon.
- Avoid harsh sunlight: Use a diffuser (a white curtain or tracing paper) to soften the light.
- Skip the flash: It flattens textures and creates unnatural highlights.
Pro Tip:
Reflectors (even white foam boards) can help bounce light and reduce shadows.
2. Composition — Tell a Story on the Plate
Good composition draws the viewer’s eye and holds their attention.
Rule of thirds: Place the subject off-centre for a more dynamic look.
Leading lines: Use utensils, napkins, or ingredients to guide the viewer’s eye.
Add human element: A hand holding a spoon or pouring sauce adds life.
Pro Tip:
Flat lay (90°), 45°, and straight-on angles each work well depending on the food type.
3. Style it Like a Pro (But Keep It Real)
Good composition draws the viewer’s eye and holds their attention.
Rule of thirds: Place the subject off-centre for a more dynamic look.
Leading lines: Use utensils, napkins, or ingredients to guide the viewer’s eye.
Add human element: A hand holding a spoon or pouring sauce adds life.
Pro Tip:
Use tweezers to adjust small details like crumbs or microgreens.
4. Color Theory — Make it Pop
Colors set the mood and create contrast.
Use complementary colors: Think of red tomatoes with green basil, or golden pancakes with blueberries.
Neutral backdrops: Whites, greys, and rustic wood let the food stand out.
Avoid color clashes: Too many bold hues can be distracting.
5. Know Your Hero
Every dish has a “hero” — the one element you want to shine.
Focus on that: the melty cheese, the crisp skin, or the perfect yolk.
Use shallow depth of field (low f-stop) to blur the background and draw attention.
6. Tether & Tweak
Tethered shooting (camera connected to a laptop or tablet) lets you see finer details in real-time.
Make micro-adjustments to lighting, composition, and props as you go.
7. Post-Processing — Enhance, Don’t Fake
Editing is the final brushstroke.
Adjust exposure, contrast, white balance, and sharpness.
Avoid over-saturation. You want food to look fresh, not fake.
Use software like Adobe Lightroom, Photoshop, or Capture One.
8. Practice Patience & Pre-Planning
Food shoots require planning.
Prep everything beforehand: ingredients, props, background, lighting.
Have a mood board or shot list ready if working on a professional campaign.
Bonus: Gear That Helps
Camera: A DSLR or mirrorless with manual settings (Canon R-series, Sony Alpha, etc.).
Lens: A 50mm f/1.8 (budget-friendly) or macro lens for close-ups.
Tripod: For stability, especially in low light.
Reflectors & diffusers: Inexpensive tools that make a big difference.
Food
Professional
Photography
Lighting
Creative
Product
Lighting
Creative
Sunday, 4 Oct 2025
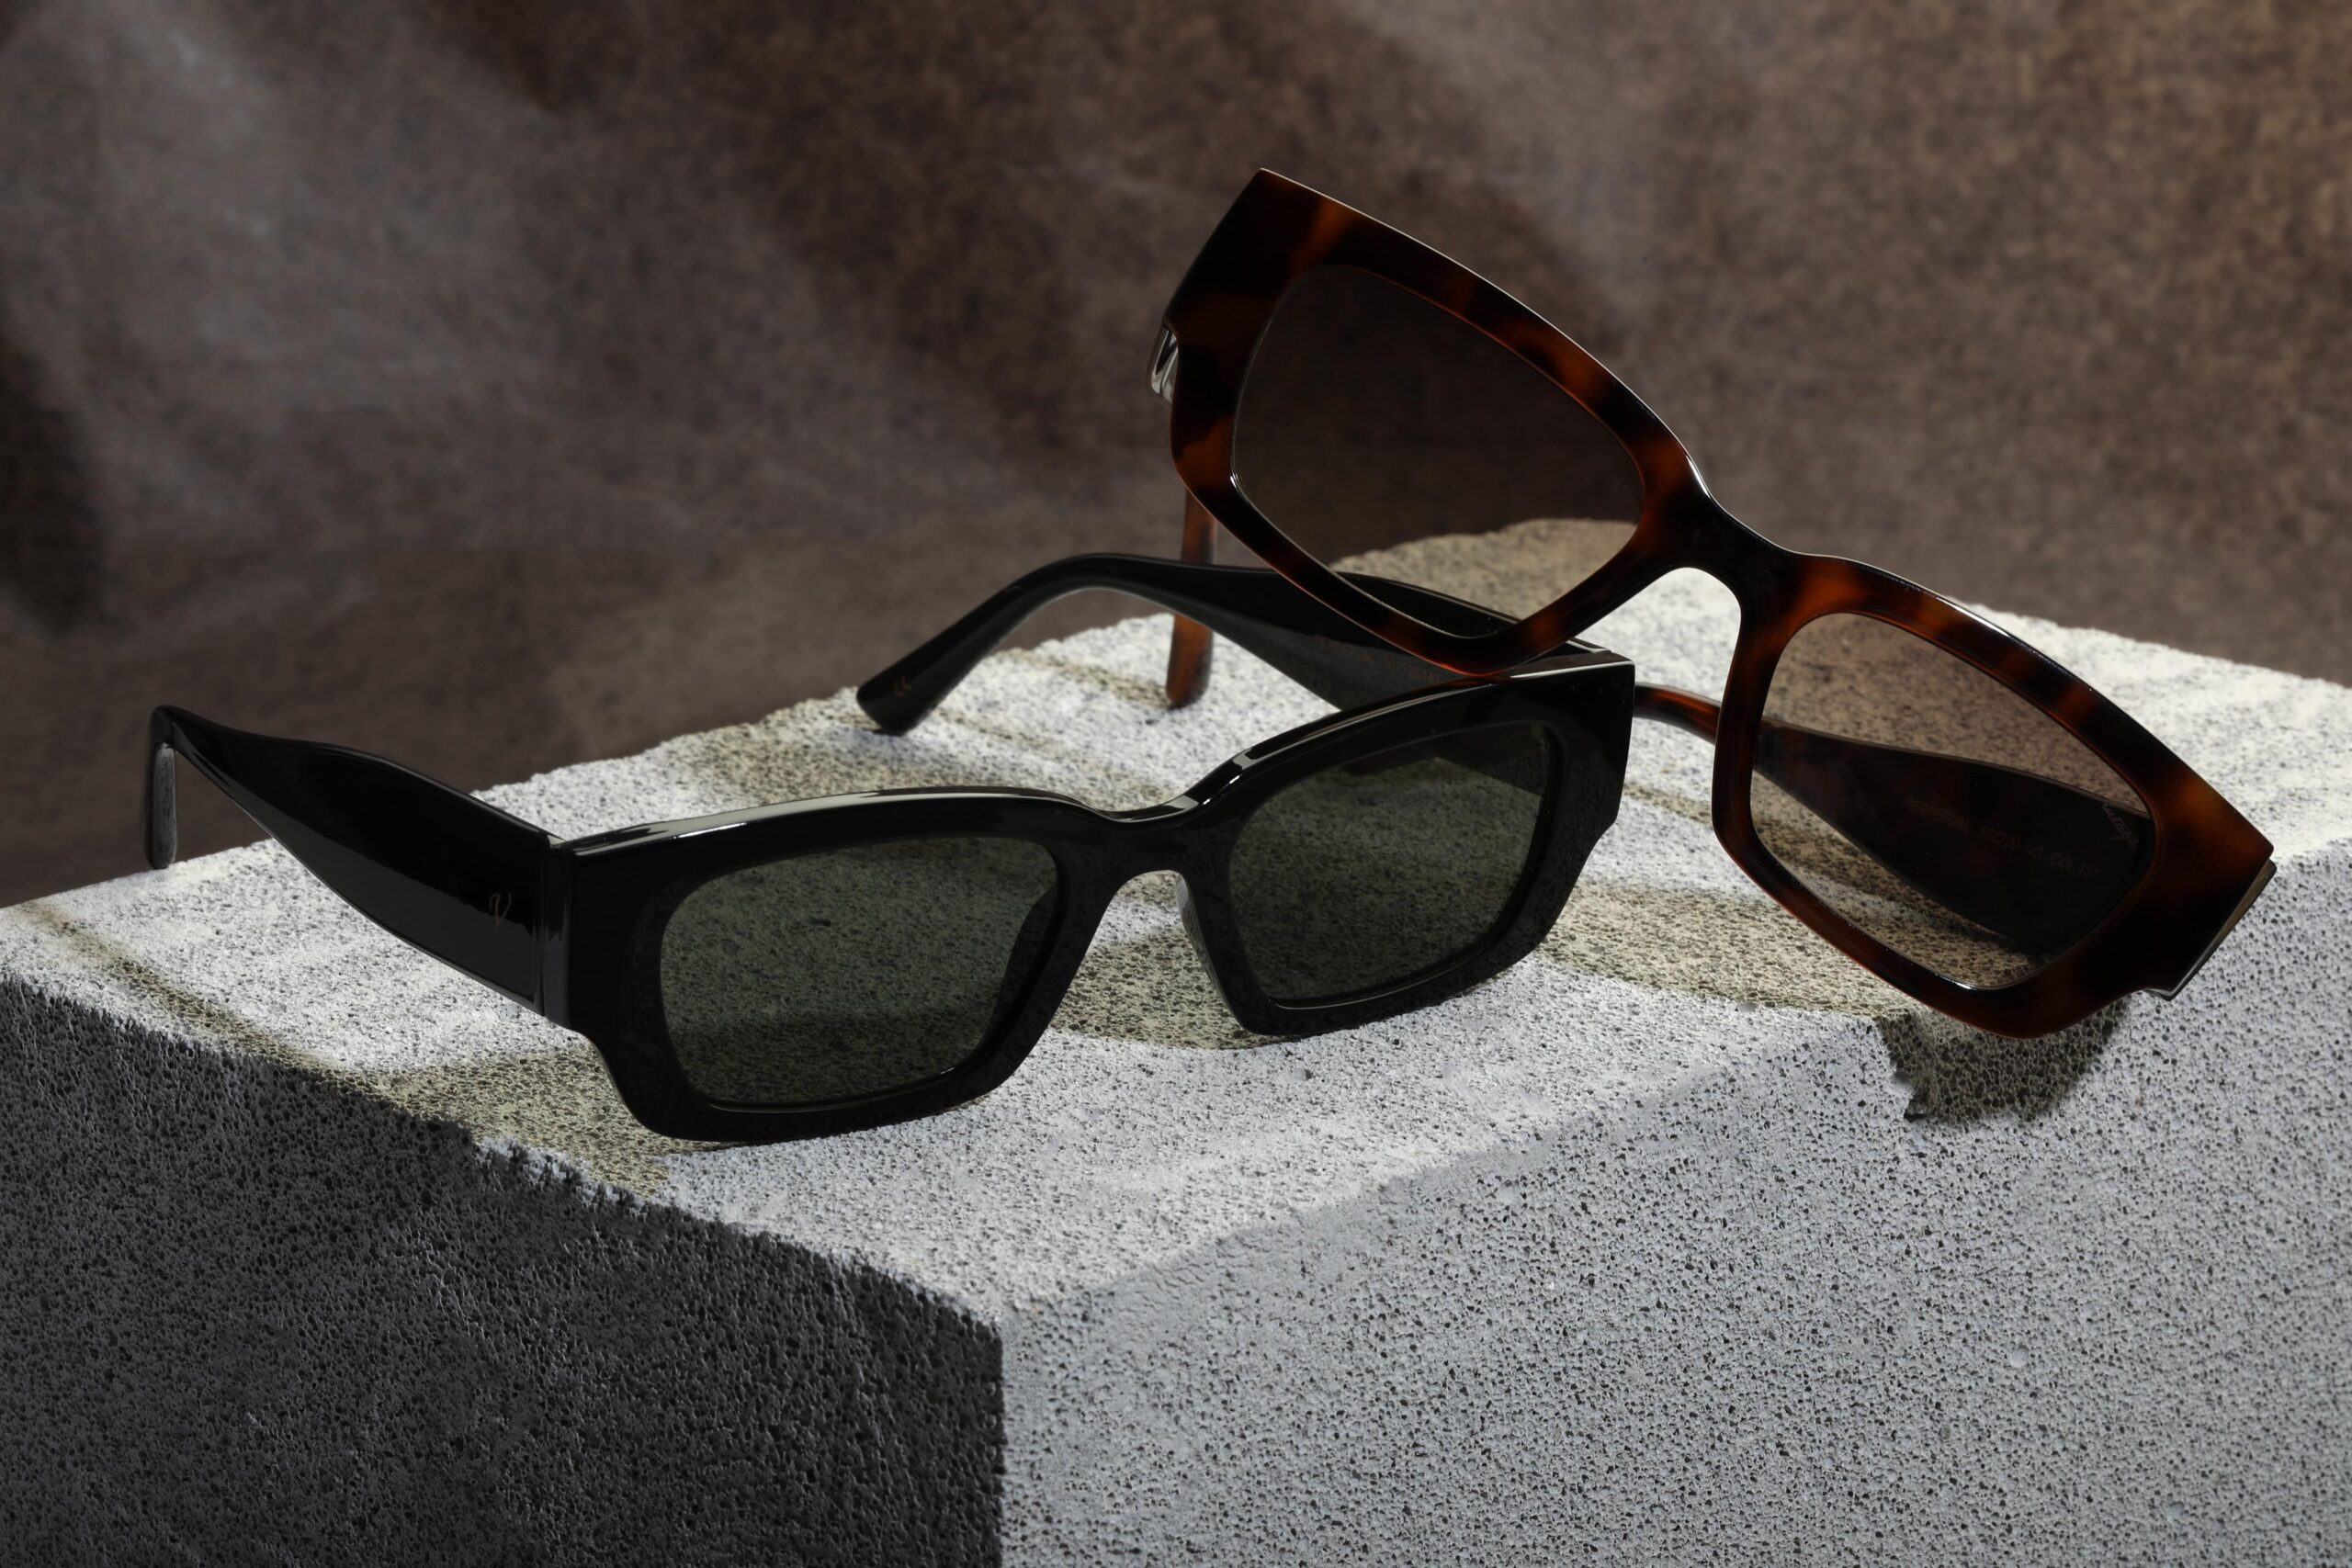
How do you make a simple pair of sunglasses look irresistible? Product photography isn’t just about capturing objects.
Mastering Sunglasses Product Photography
Product
Lighting
Creative
Sunday, 4 Oct 2025
How do you make a simple pair of sunglasses look irresistible? Product photography isn’t just about capturing objects.
Mastering Sunglasses Product Photography
Product
Lighting
Creative
Sunday, 4 Oct 2025
How do you make a simple pair of sunglasses look irresistible? Product photography isn’t just about capturing objects.
Mastering Sunglasses Product Photography